Today let us talk about projector setup for beginners.
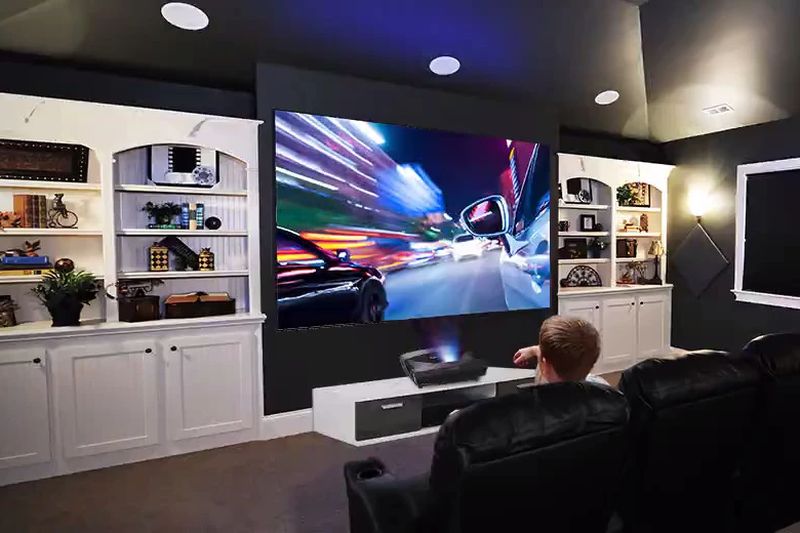
Home projectors are becoming increasingly popular among movie enthusiasts, gamers, and sports fans as they offer larger and more immersive visuals than traditional televisions. However, setting up a projector for the first time can be a daunting task, especially for non-tech-savvy individuals. This guide will provide simple steps to help you set up your home projector and enjoy stunning visuals from the comfort of your own home.
Step 1: Choose the Right Projector
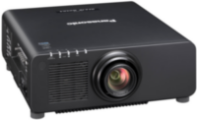
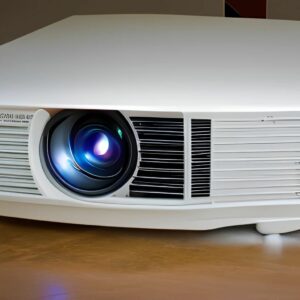
The first step to setting up a home projector is to choose the right one for your needs. Consider factors such as screen size, resolution, brightness, and throw distance. Ensure that the projector you choose is compatible with your home devices such as laptops, gaming consoles, and streaming devices.
Step 2: Determine the Projector Setup Placement
Once you have chosen your projector, determine where to place it. Ideally, you should place the projector on a flat surface, such as a table or shelf, at a distance that allows the image to fit on your screen. If you are using a ceiling mount, ensure that it is securely installed and at the appropriate height to avoid distorted visuals.
Step 3: Set up the Screen
Next, set up your projector screen. You can purchase a fixed or retractable screen, or use a blank white wall as your projection surface. Ensure that the screen is clean and free of any obstructions such as furniture or decor. If you are using a wall, choose a blank and smooth surface, and avoid any textured or patterned surfaces that could cause distortion.
Step 4: Connect the Projector to Power and Devices
After setting up the projector and screen, it’s time to connect the projector to power and devices. Connect the power cord to the projector and plug it into a power outlet. Then, connect your devices such as laptops, gaming consoles, and streaming devices using an HDMI cable or other compatible cable. Ensure that the cables are securely connected and that your device’s display settings are configured for the projector.
Step 5: Adjust the Projector Settings
Now that your projector is connected to power and devices, adjust the settings for optimal visuals. This includes adjusting the brightness, contrast, color, and aspect ratio to suit your preferences. You can also adjust the focus and zoom to ensure a clear and crisp image. Most projectors come with a remote control that makes it easy to adjust these settings from a distance.
Step 6: Test and Fine-Tune the Setup
After adjusting the settings, it’s time to test your setup and fine-tune any issues. Turn on your projector and devices and play a movie or game to test the visuals. If the image is distorted or blurry, adjust the placement, focus, or zoom until you achieve optimal visuals. If the sound is not adequate, consider using external speakers or soundbars to enhance your audio experience.
Conclusion:
Setting up a home projector can seem overwhelming, but with these simple steps, you can enjoy stunning visuals and immersive experiences from the comfort of your own home. Remember to choose the right projector, determine the placement and screen, connect to power and devices, adjust the settings, and fine-tune your setup for optimal visuals. With these tips, you’ll be well on your way to enjoying your favorite movies, games, and sports in a larger-than-life format.